Steps
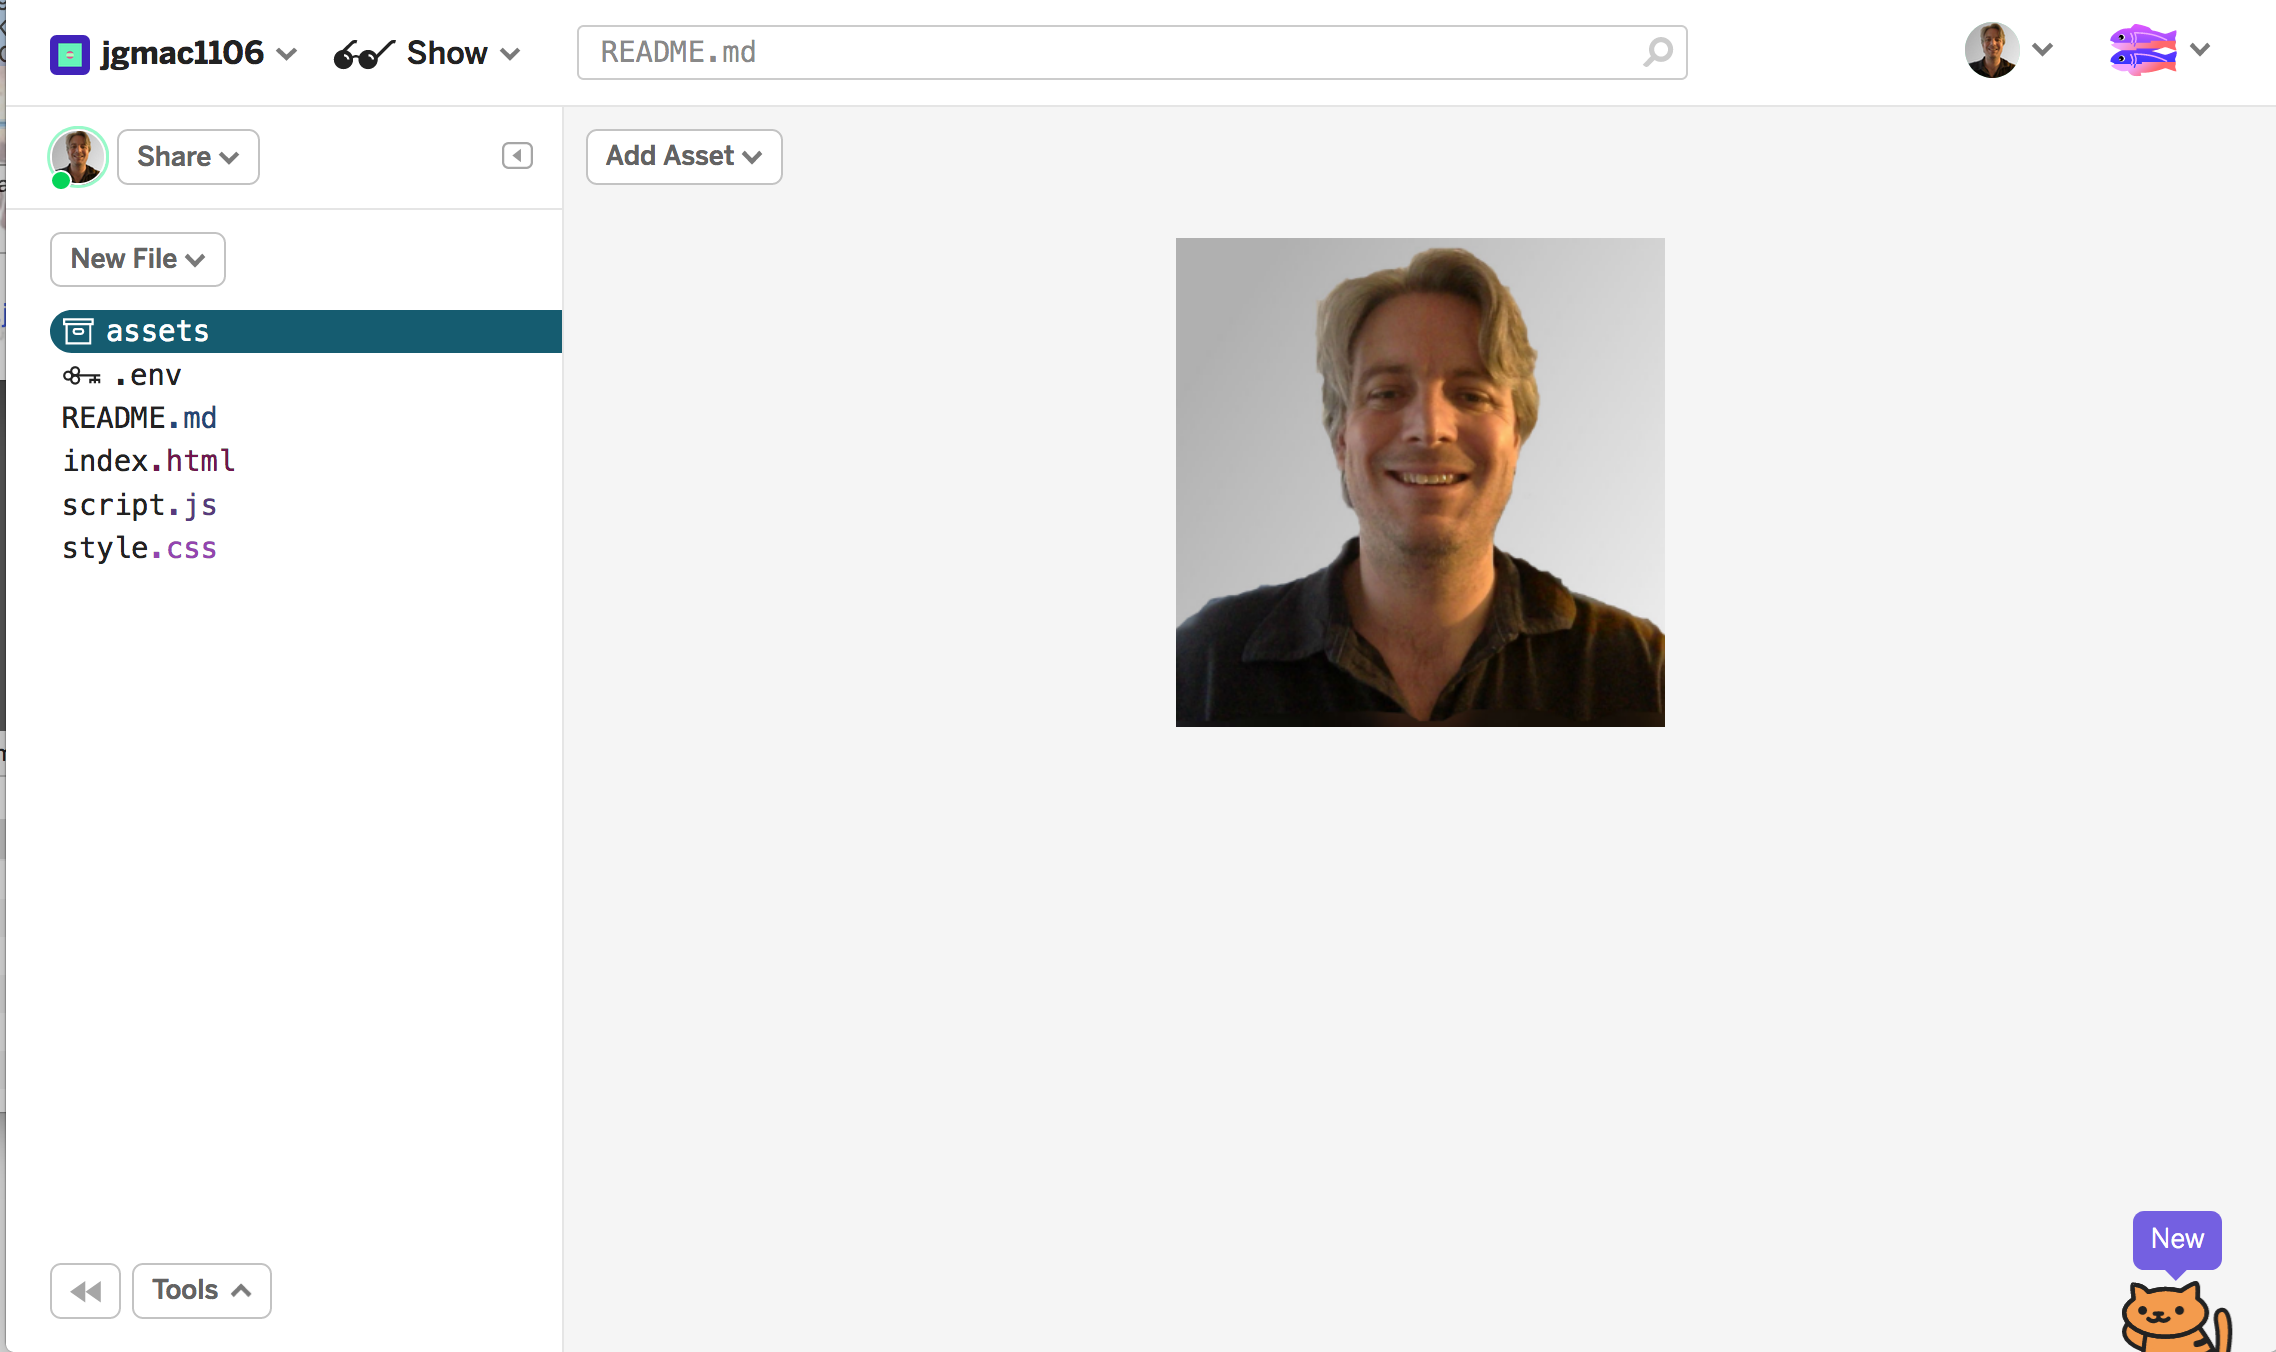
Change the Avatar Picture
The img element works by telling a browser where the source of a picture file is located. We use img and then have a src or source. Therefore an img element looks like <img src="https://example.com/photo.jpg" >
You can change any image on a website by switching the url of the source. Let's give it a try.
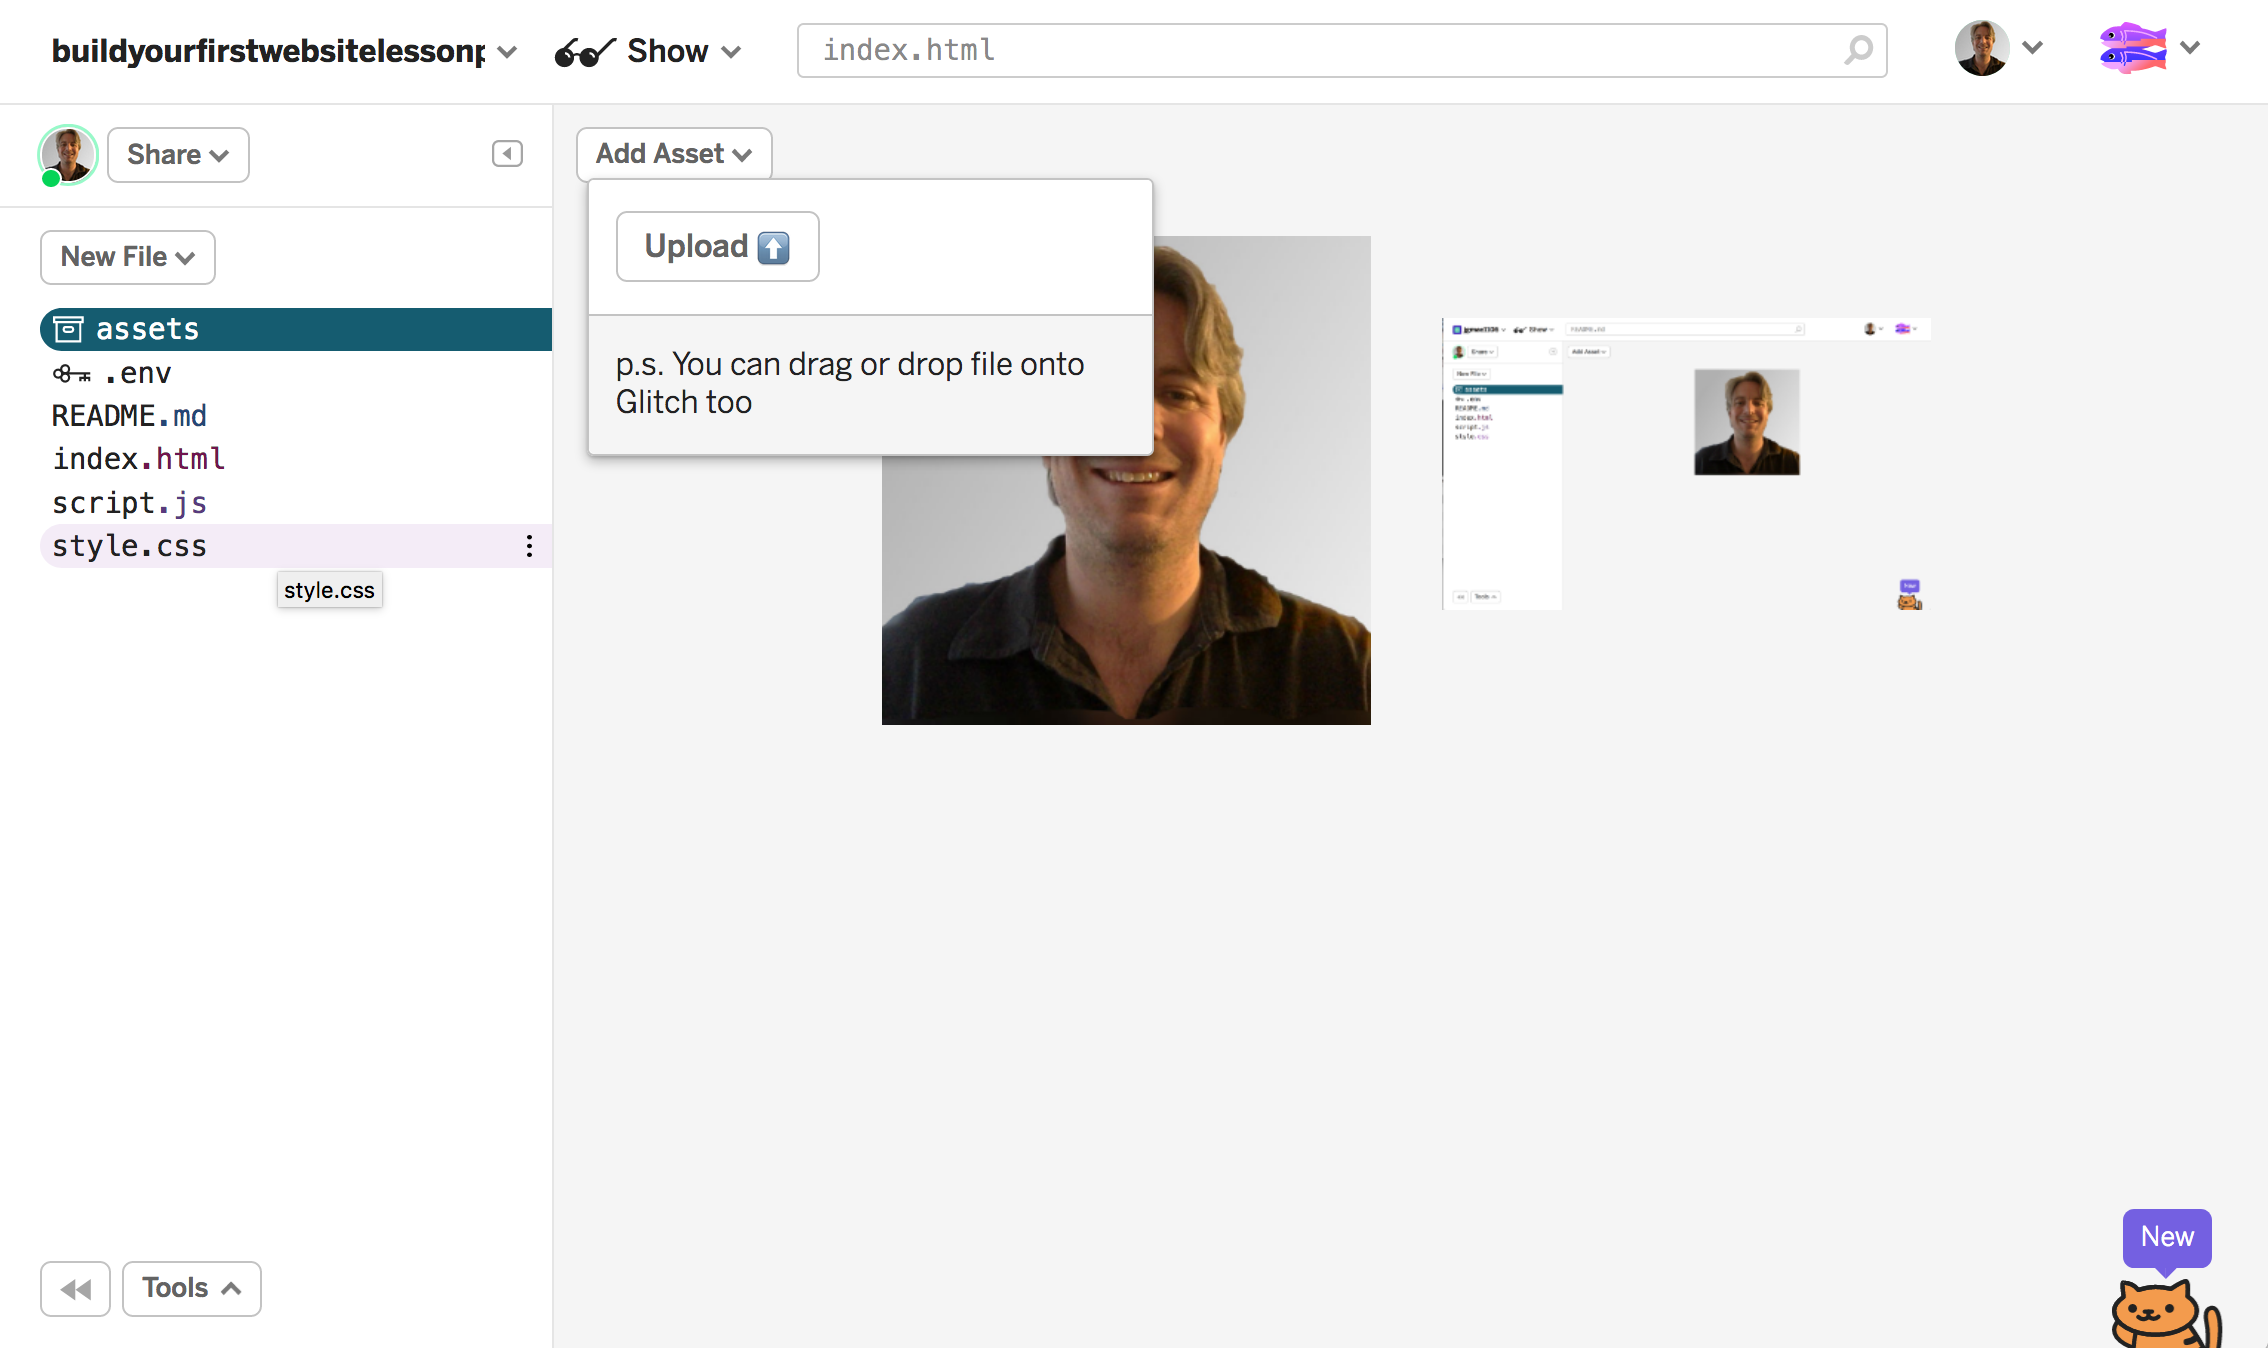
- Click on Assets in the left bar
- Upload an image that meets your purpose
- This can be a photo of yourself, an avatar, or any picture
- If you want a circle img make sure the photo you upload is square
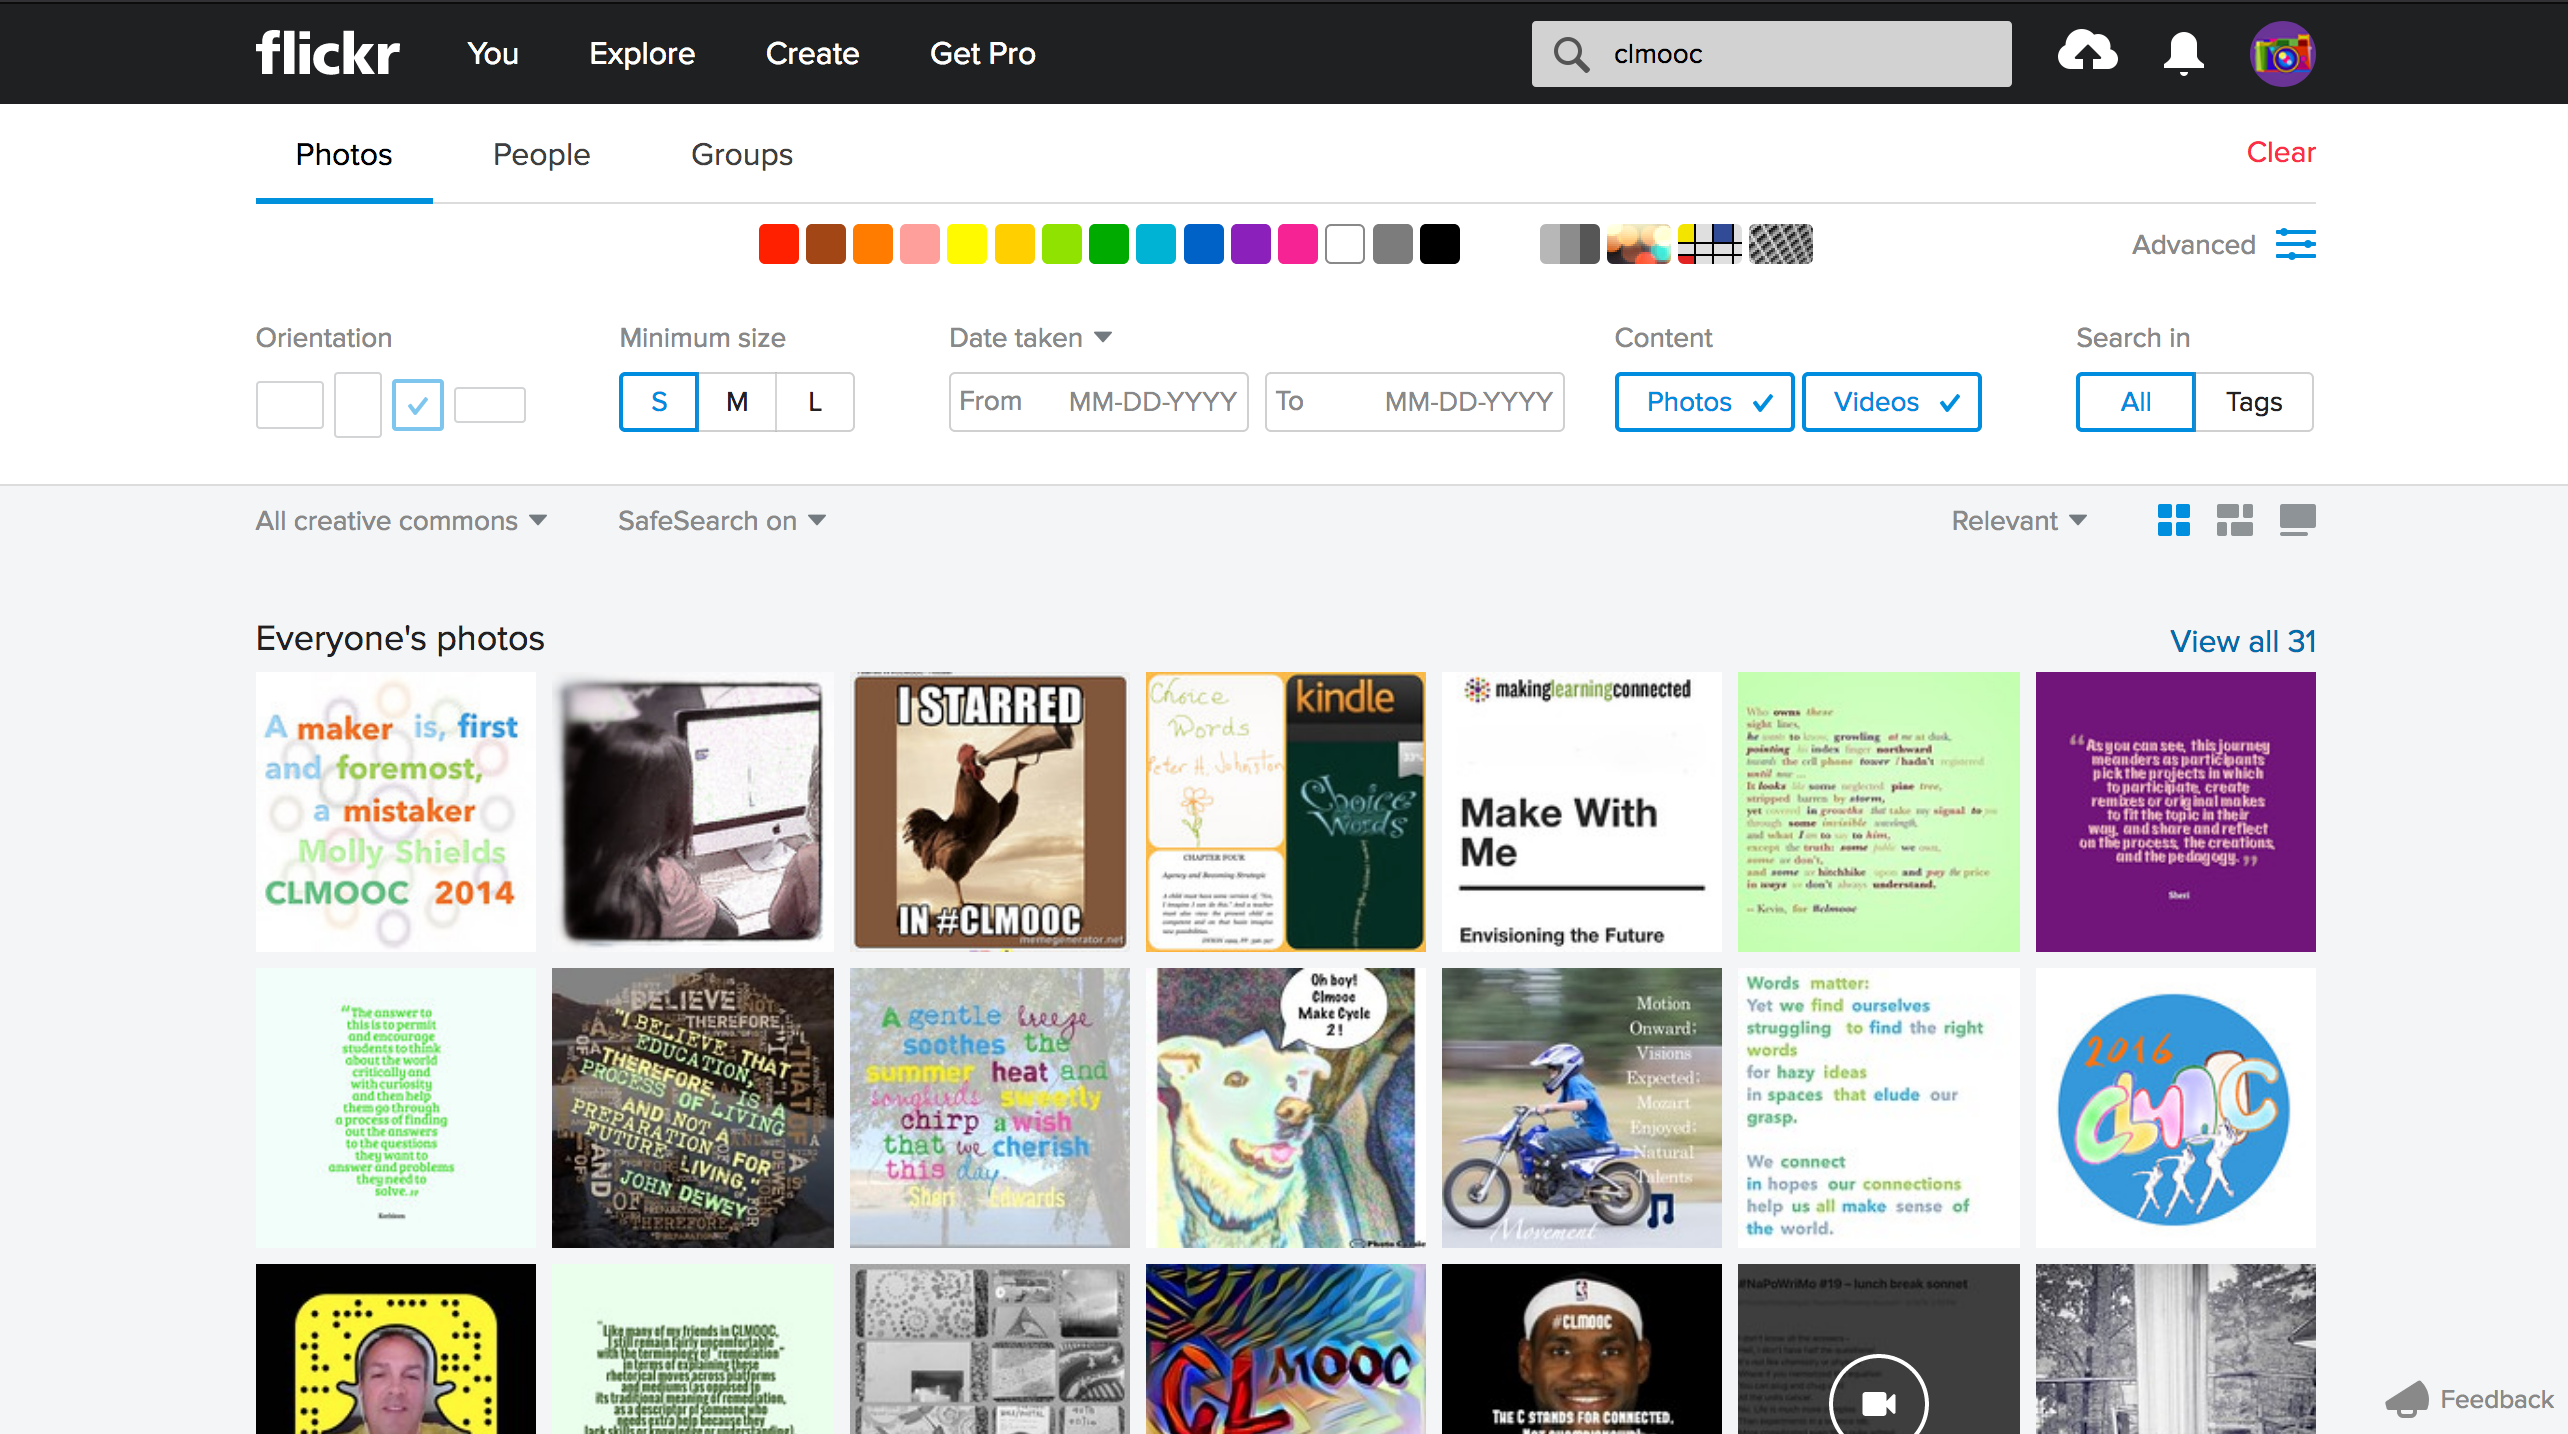
- Tip you can search flickr for square photos that openly licensed
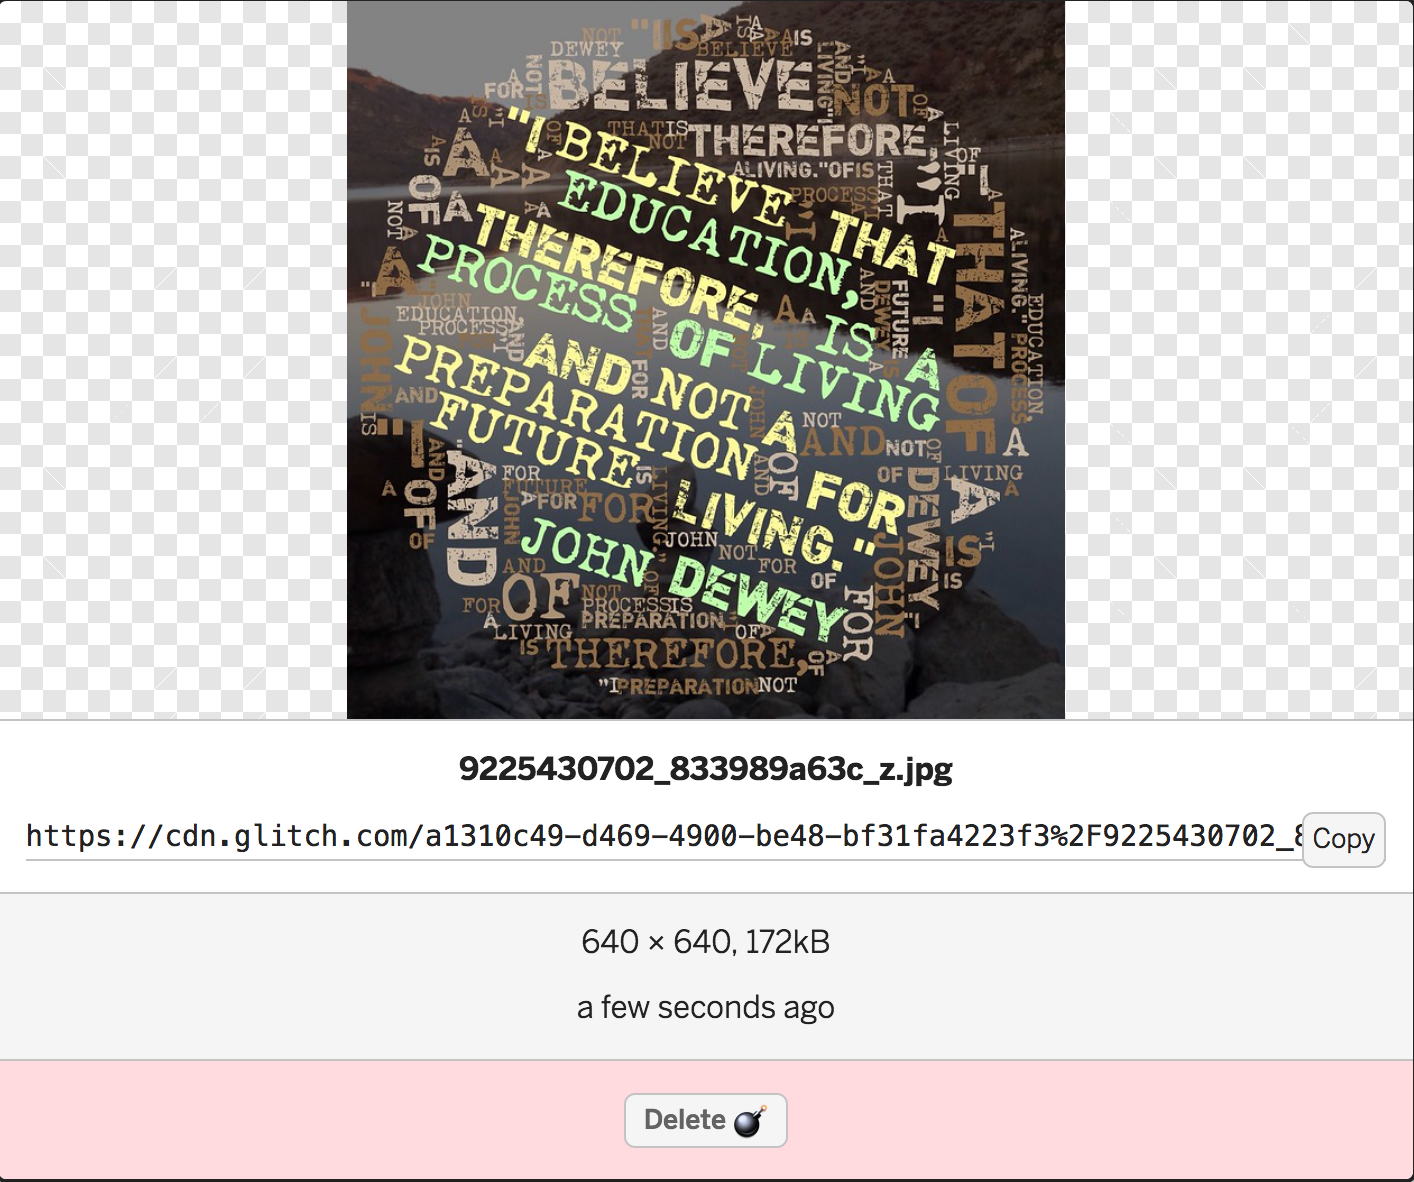
- Click on the uploaded image and copy the url
- Go back to the index.html file
- We will change the photo by changing the source of the img element
- Some people use screen readers to browse the web, these only display text. We add an alternative text to our img alt=""
<img src="https://example.com/photo.jpg" alt="description of image" > - To change the image we will copy the url from our uploaded img and switch the src. This means you will
-
<img class="avatarIMG" src="https://cdn.glitch.com/44451879-0fff-41c9-abf0-e26cdcc0be36%2Fheadshot1-54c7887fv1_site_icon.png?v=1563018424984" alt="my headshot">becomes<img class="avatarIMG" src="https://cdn.glitch.com/a1310c49-d469-4900-be48-bf31fa4223f3%2F9225430702_833989a63c_z.jpg?v=1563115455587 alt="remix of John Dewey Quote">
Change the Background Picture
On a website we use HTML for our content and CSS to style our content and make it pretty. So your words go in HTML and your design is done by CSS. CSS,or Cascading Style Sheets just say make this paragraph this color and this section of the page have a border. Basically they are a set of rules authors can use to add color, fonts, and more to a website. This type setting used to require templates and huge presses. Now we just write a couple rules in our
A CSS rule contains what we call properties. These act as special codes to change the style. The rule also contains the selector. The selector tells you what HTML element you will style. It kind of actos as a code name.
So for example, in our HTML we could say <p class="bigFont">. That bigFont is the selector, the code name to our rules. So in your stylesheet, which is a seperate file containing all your rules you can change the color.
        .bigFont {

        color:#7f8c8d;

        }
In our stylesheet is color:#7f8c8d; this is the property or secret code browsers must follow to change the color of any HTML element with the "code name" assigned by the selector.
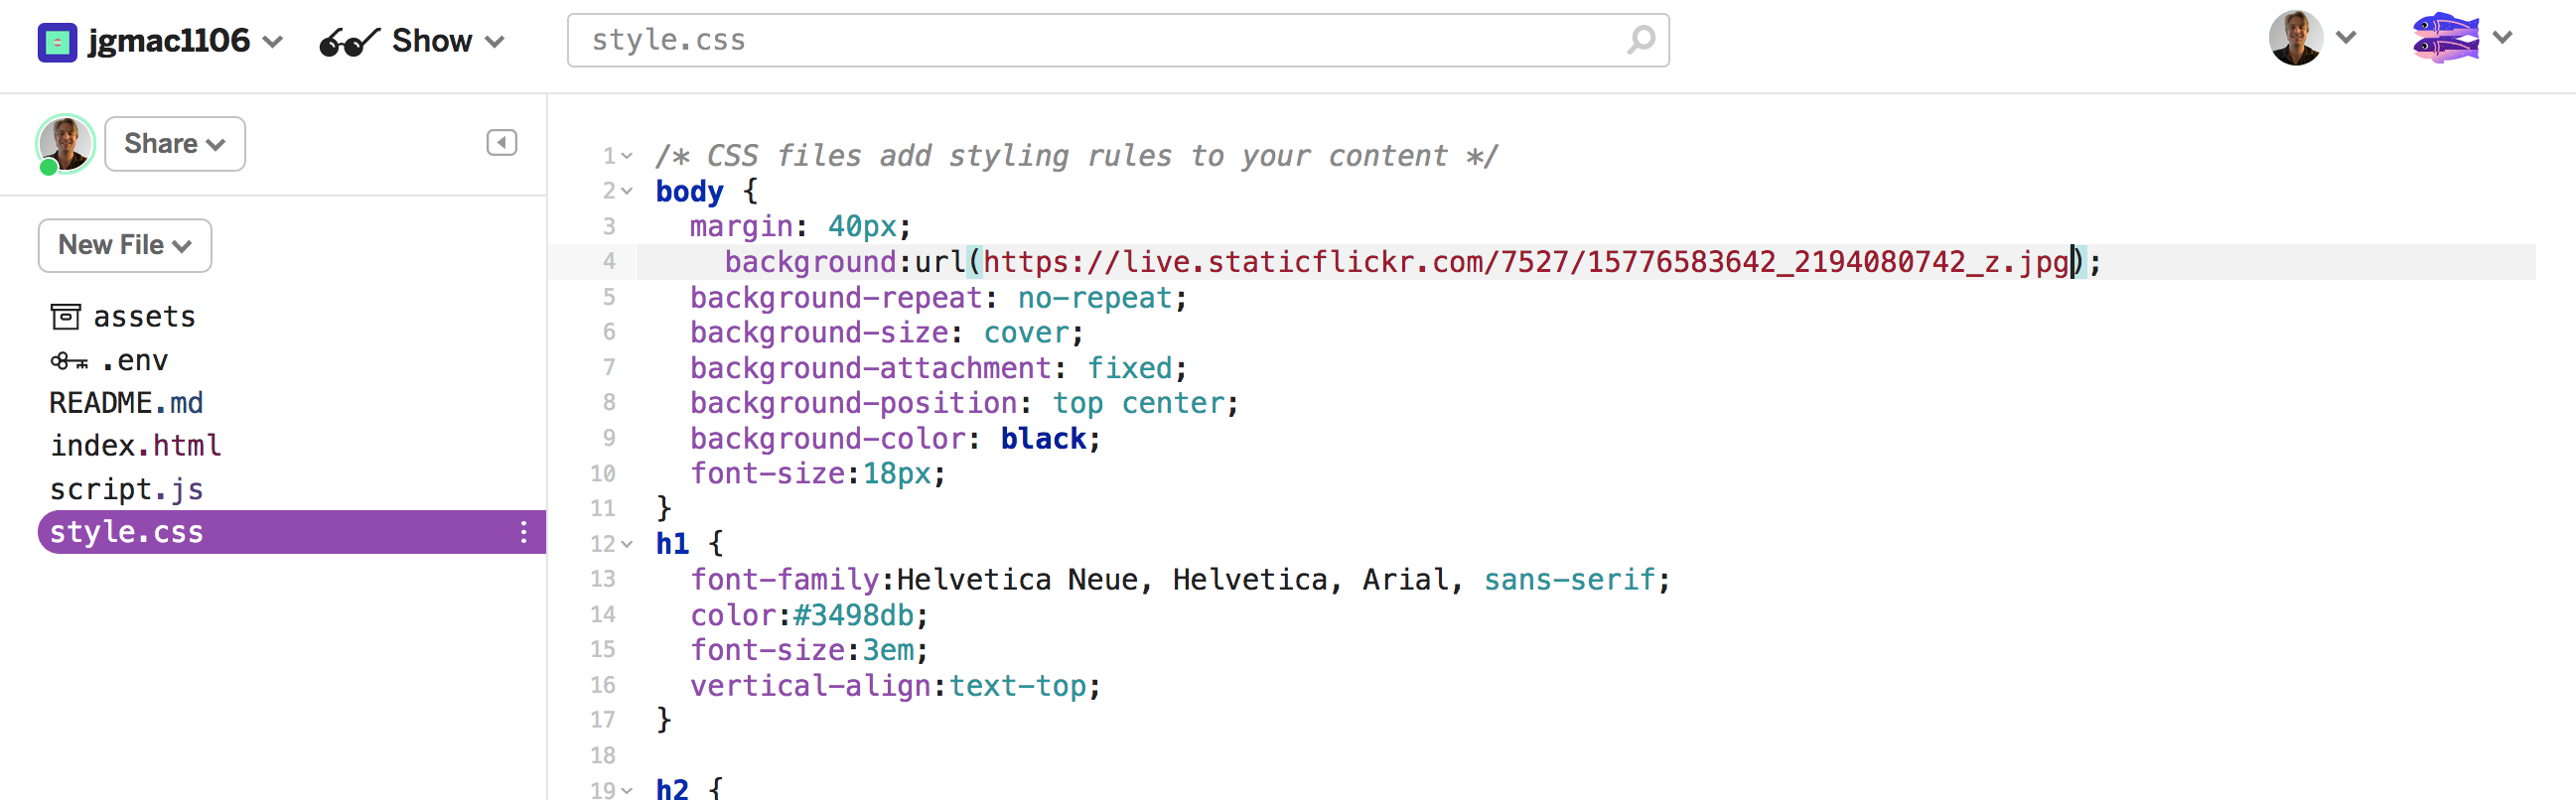
In our project we are going to use CSS to change the background img of the website. The background img is in the CSS and not the HTML because it is decoration and not content.
To learn more about CSS checkout the Mozilla Developer Network Documents.
- Find an image that best represents you. It needs to be a big image so it does not repeat or stretch as a background image
- Click on the file called style.css
- The first rule you see is set to the HTML Body. If you click back to the HTML file you will see the Body contains all your content. So the properties included in the rule apply to everything.
- The background image is applies to the body. To change the image you will change the url in background:url(https://c1.staticflickr.com/3/2882/9079875878_4b6766a7ad_k.jpg);
- This defines the background and you point to a picture so your background is an image. The other pars of the rule tell your site to fill the background with your image.
- You can upload another image to Glitch or copy a url to an image anywhere on the web
- In this example I changed the url to an image on Flickr.
- So the rule for styling the body element now looks like
Edit the text in Your HTML
The easiest steps are always the hardest. Now you need to change the copy of the text and add any necessary headers for your audience. If you haven't done so yet, step a way from the computer and write your front page copy. What do you want vistors to your website to know? What is the elvator talk of you or your goals?
- To change the text on an HTML Document you just do not change anything in the <opening> and </closing> tags. Just change the plain text.
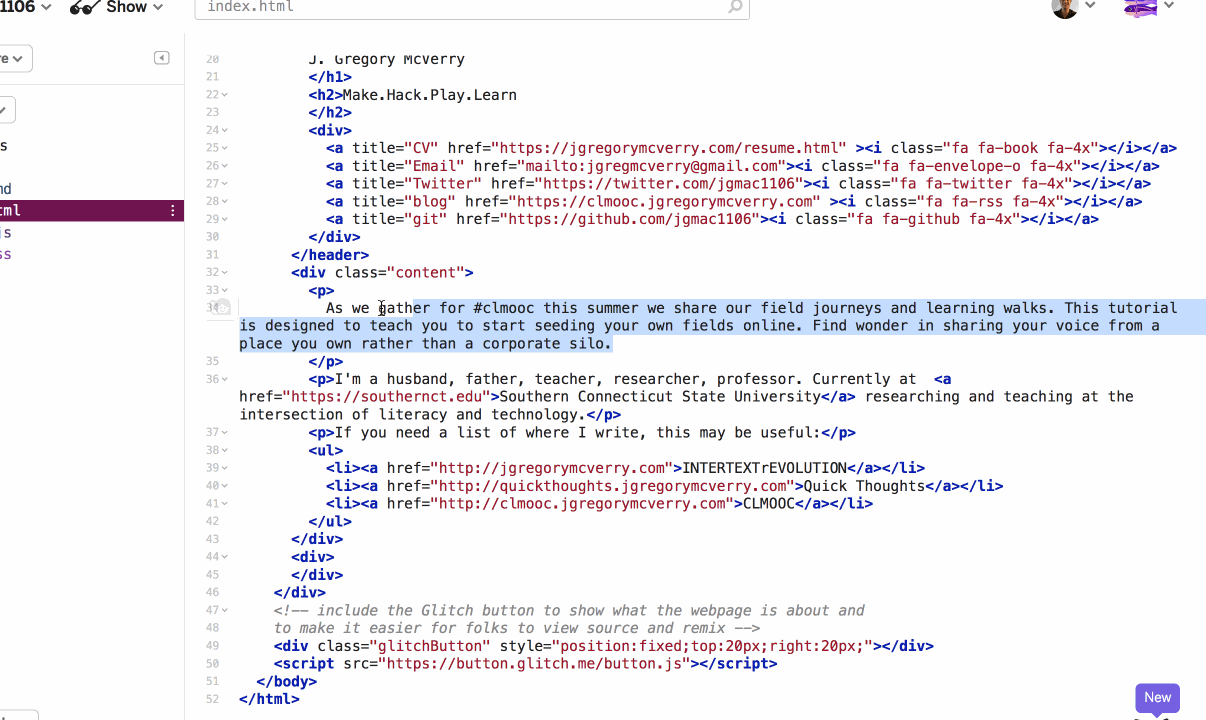
- You can also add a link to anywhere on the web using the <a> anchor tag
- The anchor tag includes an href link which tells you the url of the website to visit. The text that is linked is in between the opening and closing a tag
Adding Hyperlinks in Your Text
<a href="example.com">linked text</a>
Adding Headings in Your Text
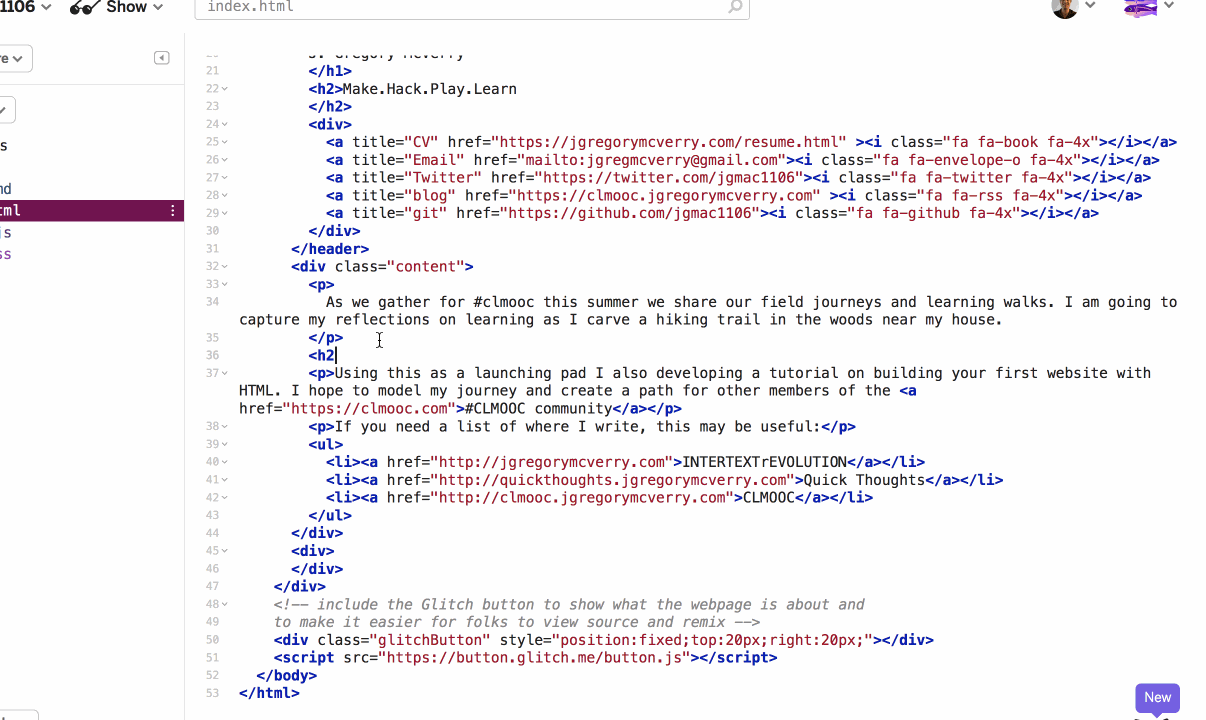
- You can also make your document easier for readers to understand with headings. IN HTML you can have six levels of headings <h1>, <h2>, <h3>, <h4>, <h5>, and < h6>.
- By default the headers are bigger than each other. <h1> is the largest and < h6> is the smallest. It is very important that you use headers in sequential order. This helps website accessibility and works better for people who use screen readers.
- Never use headers for arbitrary text styling. Just like in print headings have semantic meaning. We use them to reduce inferences our readers have to make. If you want to change font size use CSS.
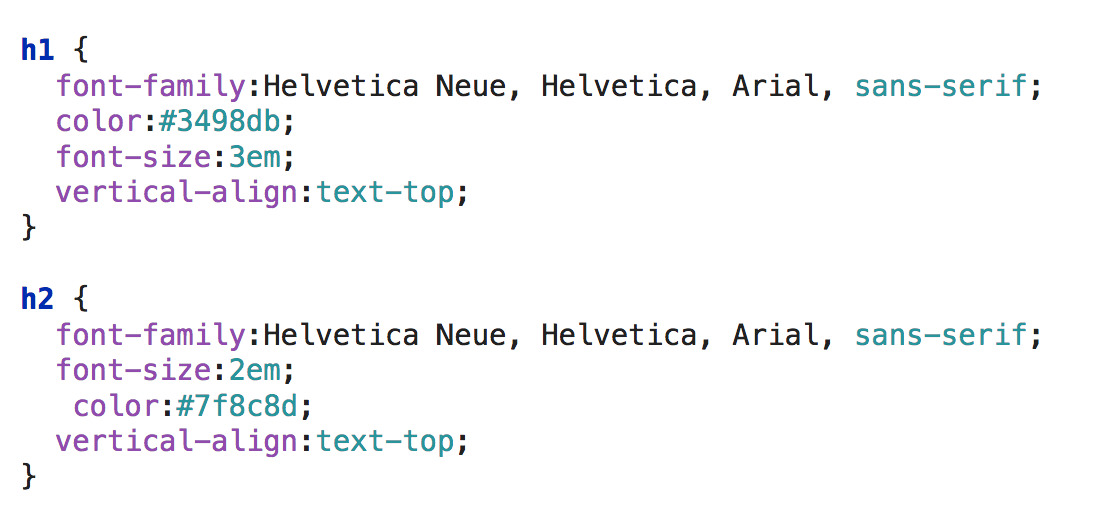
- The headings can be styled using CSS. Since these are a global tag you do not put a period in from of it in your style sheet. It would not be .h4 but h4
- In the above screenshot you see how h1 and h2 are styled in our project. The properties apply color, fonts,, and sizes. We will learn about these in later lessons
- You can also style an h4 within a nested element. This is what the cascading means in Cascading Style Sheet. So .content h4 would only style the h4 within the HTML element that had the content selector
Using the List Element
- HTML allows for two different kinds of list: an organized <ol> or numbered list and and unorganized <ul> or bulleted list.
- Each list contains list items <li>
- In this project the other places I write uses a list
- You can add or delete list items
- You can also style the list or the list items by assigning a rule from your stylesheet by assigning a selector.
Reflection
Success of this lesson will result in a website that you can share. If you have a blog write a post reflecting on what you learned or challenges you faced.