Build Your First Website
A Guide to Getting Started with HTML
Adding Pages and Images
Lesson Directory
Goals
Make a webpage with images that display well on the phone and on dekstop.
Objectives
- Copy and add a new page in Glitch
- Upload and display an img in Glitch
- Use CSS to control the size of an img
- Add a link to the full size img
- Use the float and display properties to align an img right, left, and center
Steps
Add A Page in Glitch
- We will copy an existing page
- If you want a blank page click on "New File" in the left sidebar in Glitch and make sure the page ends in .html
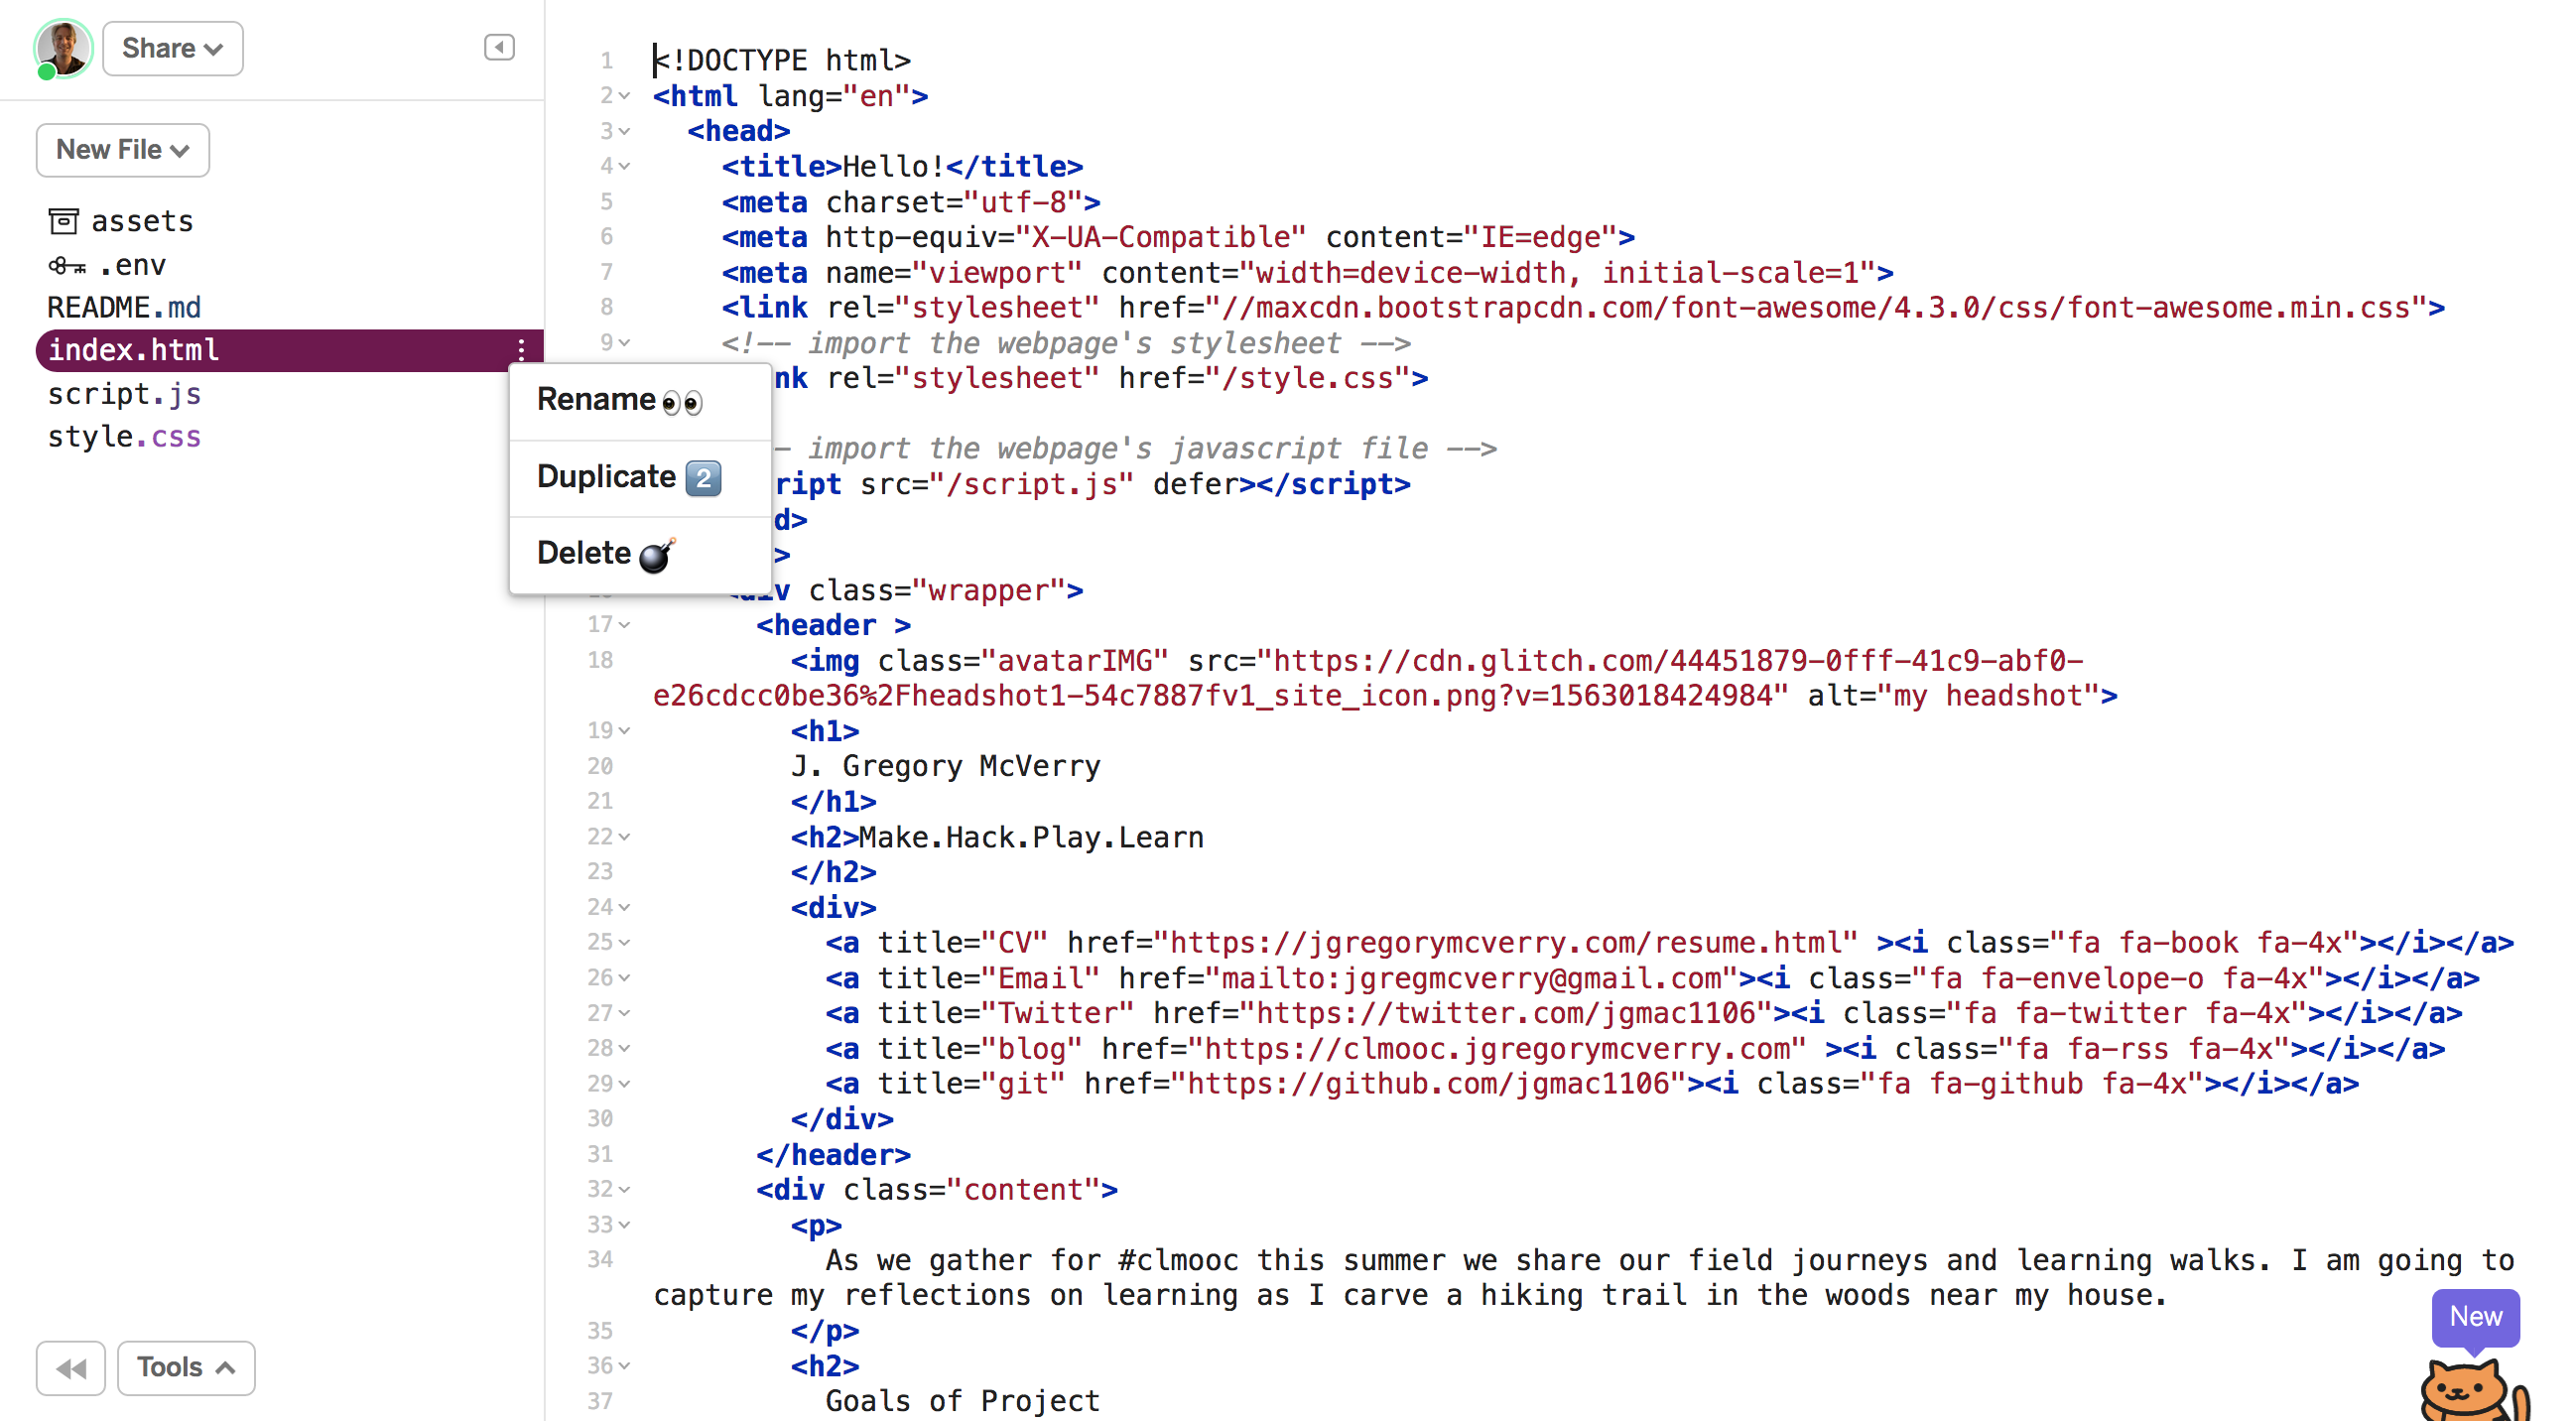
- To copy a file we will highlight our index.html file. Then click on the vegan burger menu, the three dots next to the file name
- Choose duplicate file
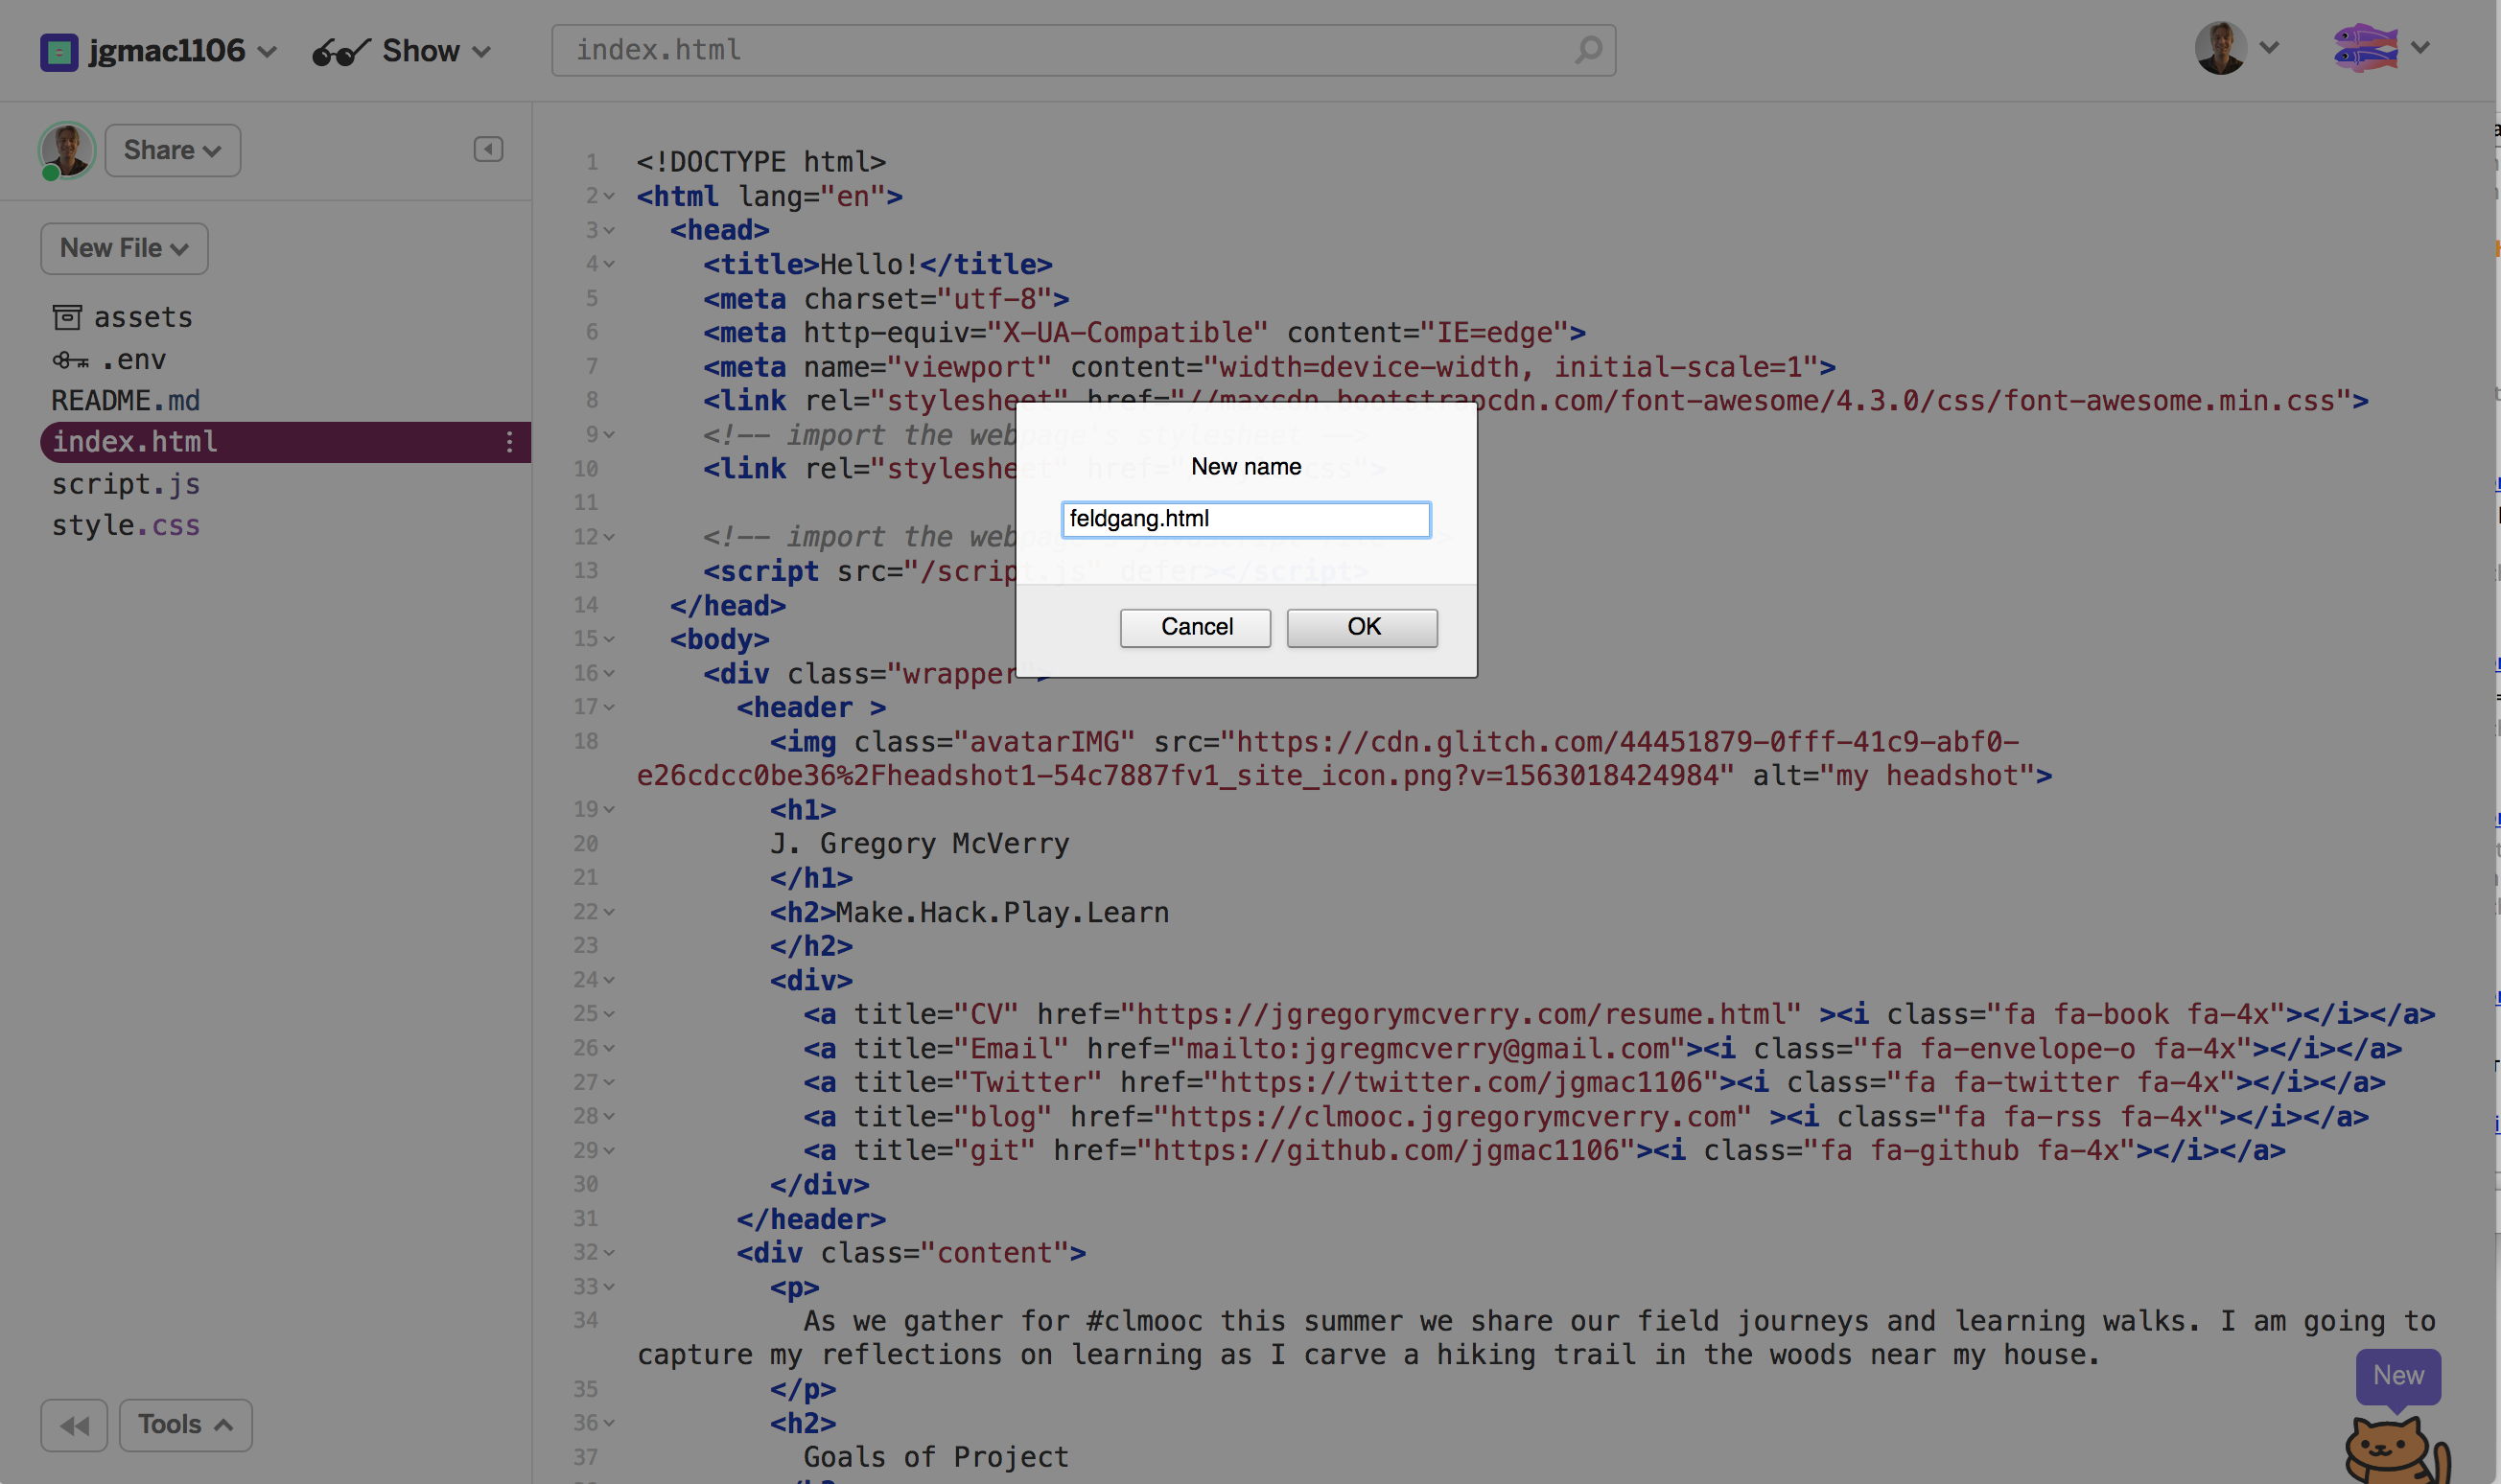
- Then rename the page. Make sure you delete the word copy and the file ends in .html
- You can now edite the page and keep all the design in yoru stylesheet. For example I edited my header to not have all my personal information on this page.
- Get out a piece of paper and layout how you want the page to be designed. Take a second to write your copy and find any images you might want to use.

Add an Image to Your Page
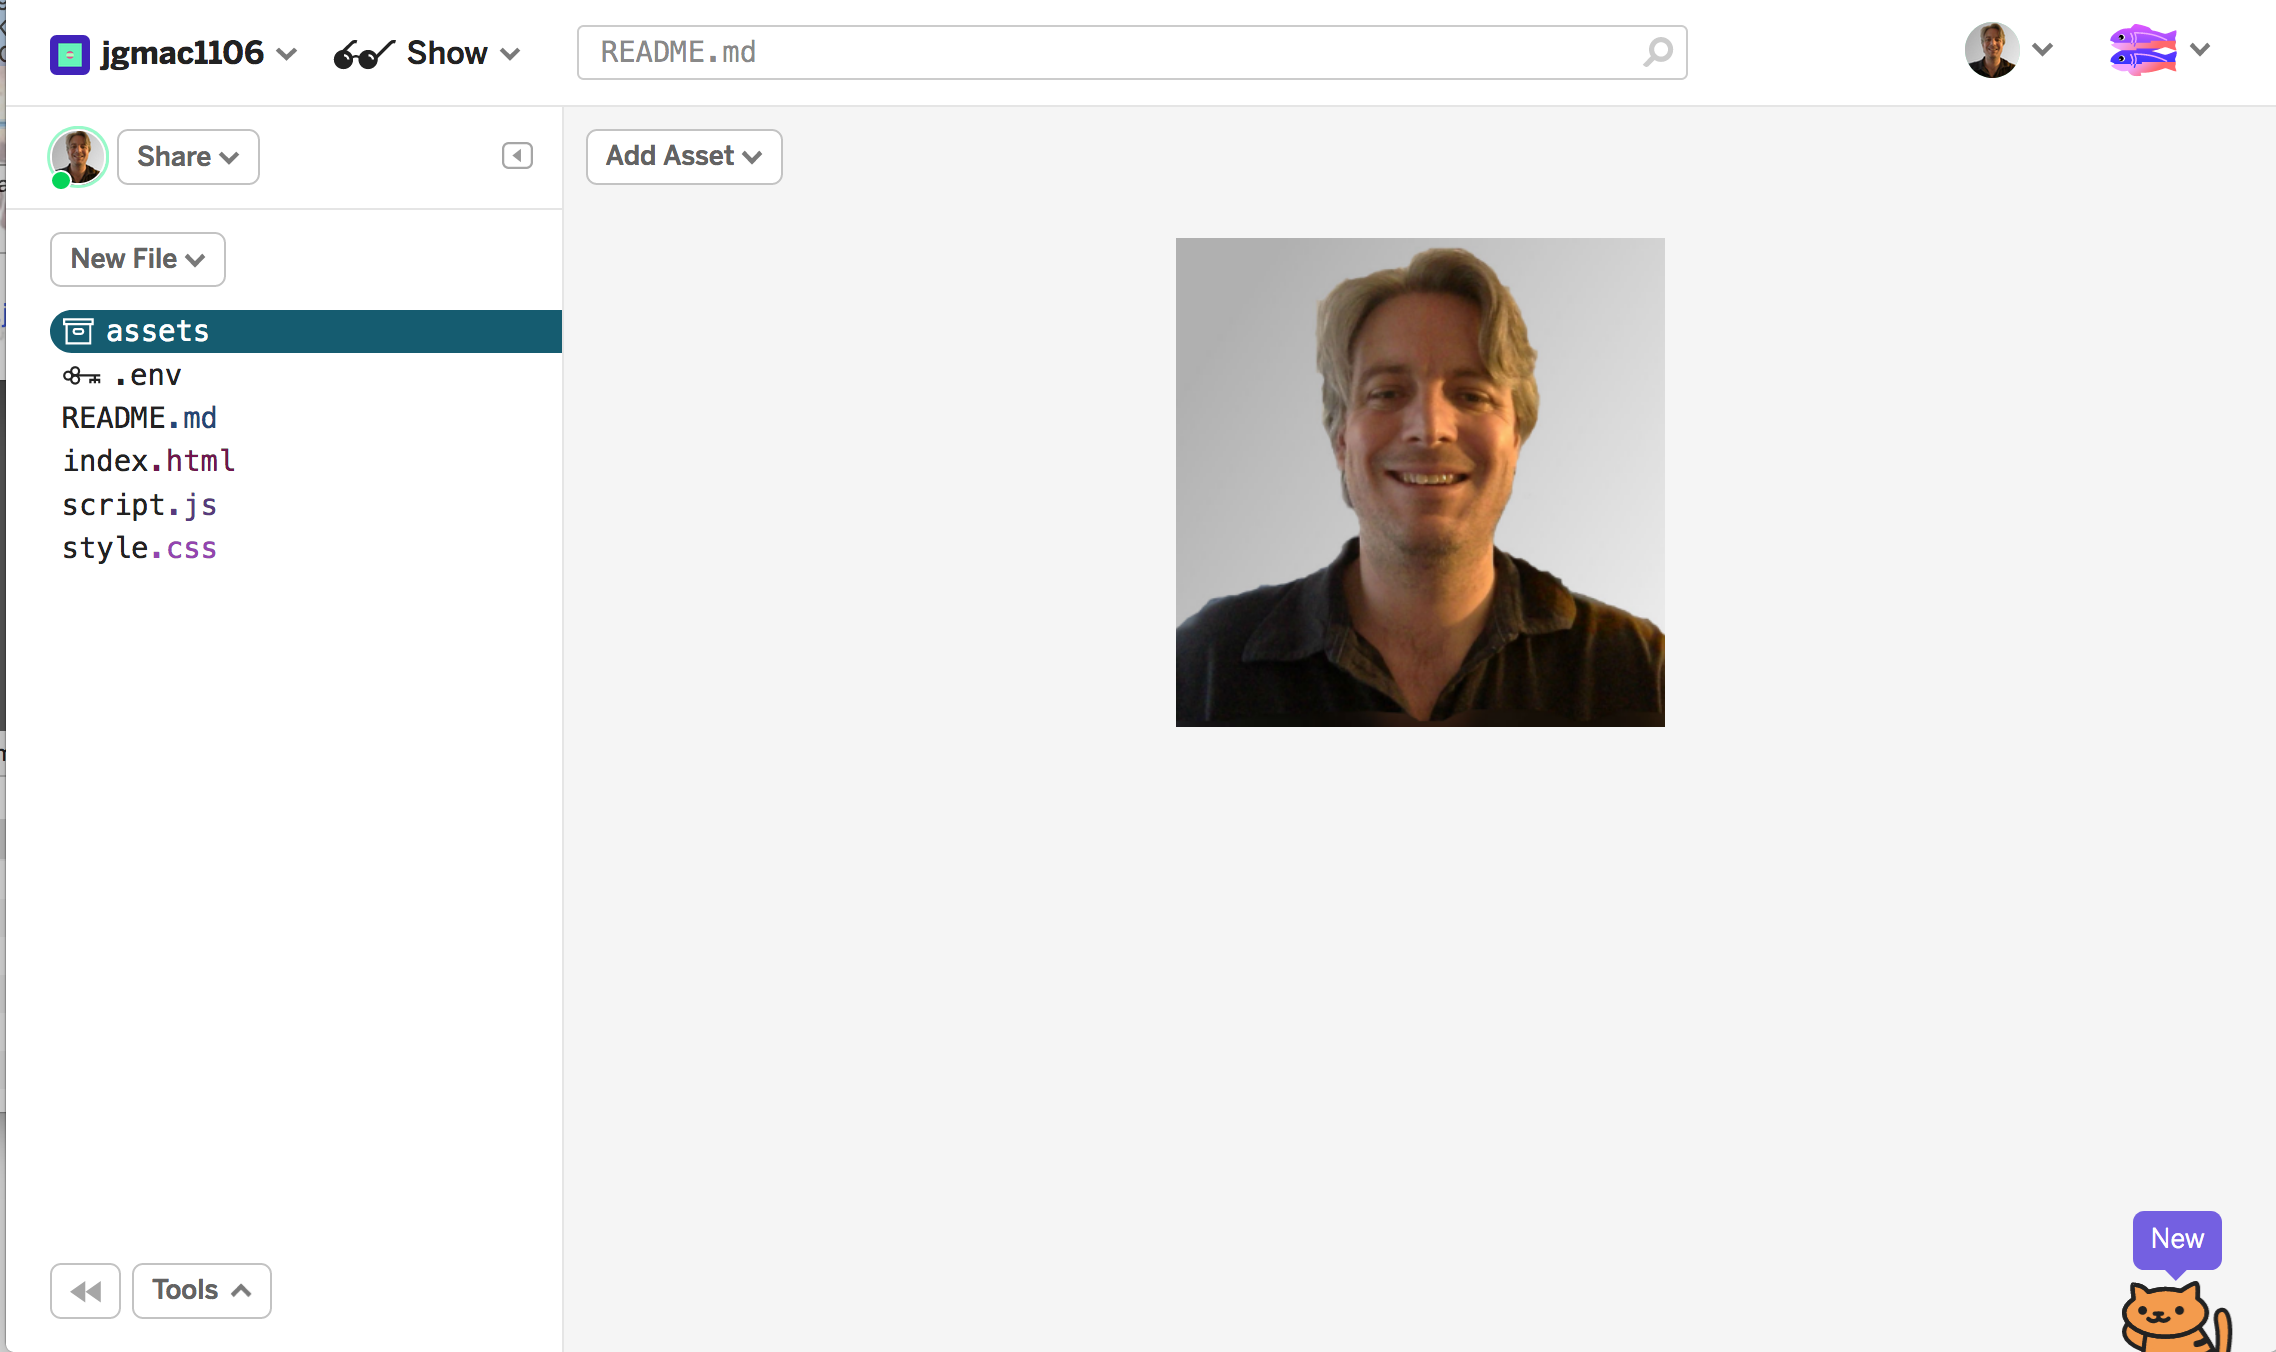
- Click on assets in the left tool bar of glitch
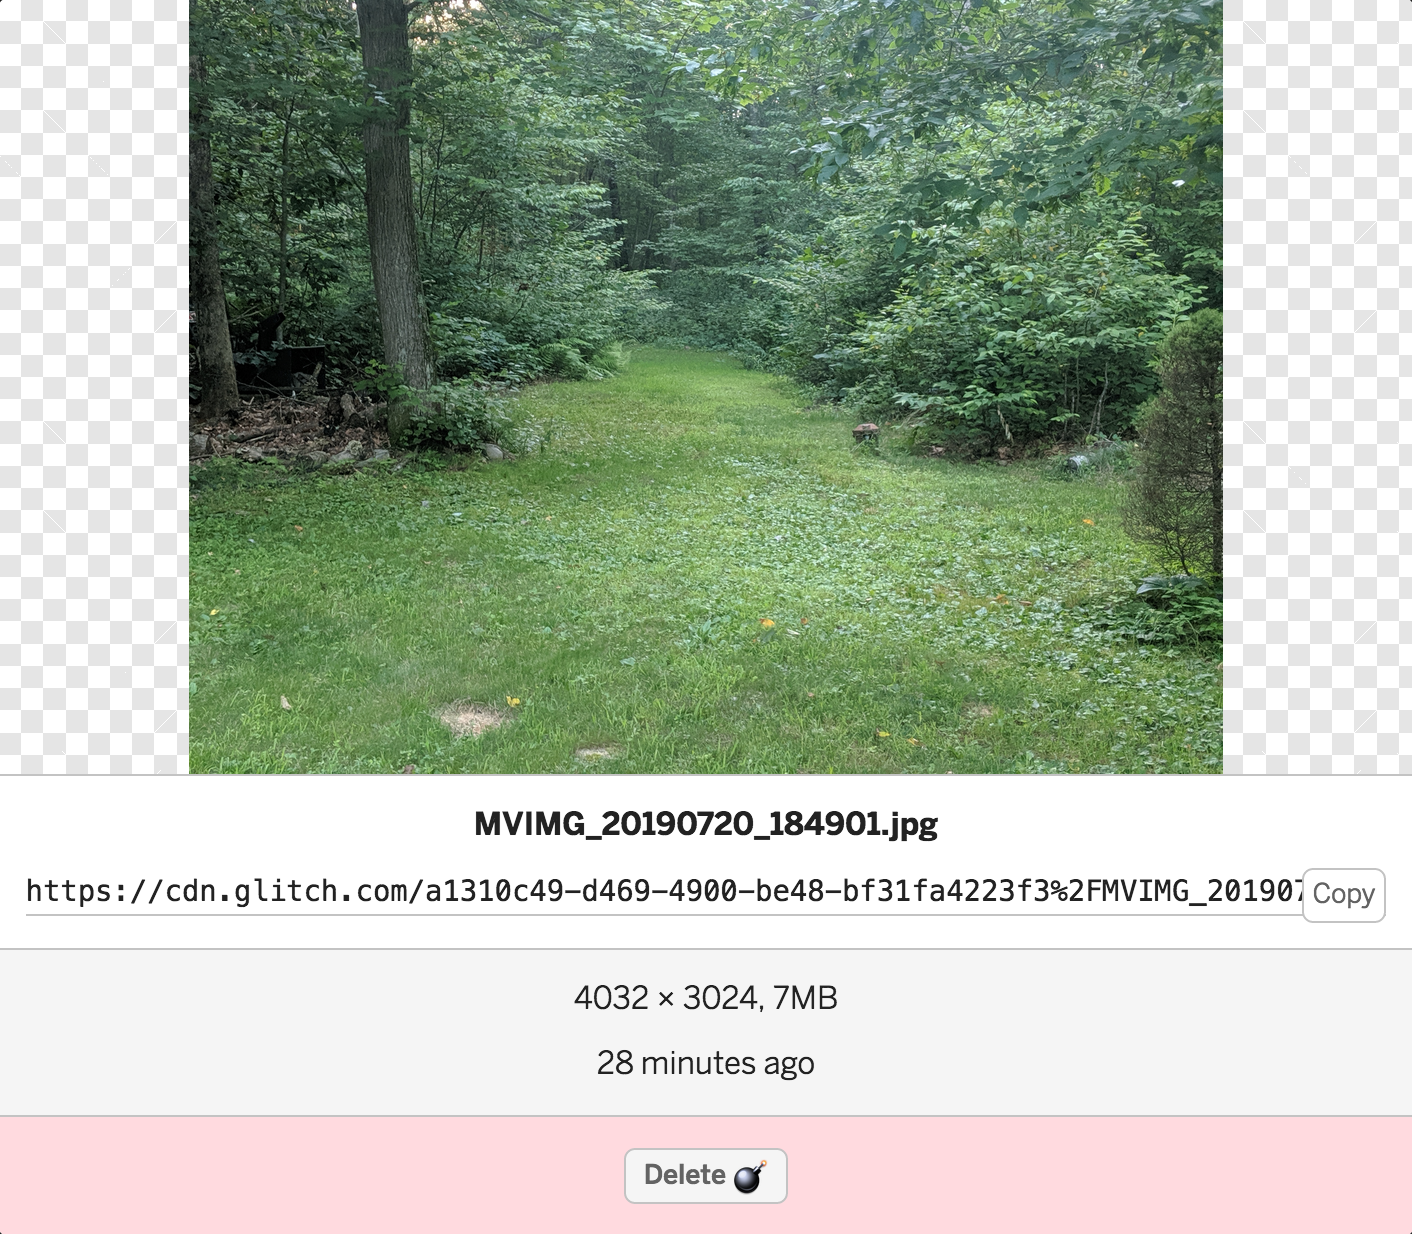
- Upload the image
- Copy the url
- Go back to your HTML file
- Type <img src="" alt="">
- Paste in the url to the image you copied. The url goes inside the quotations after src
- If you look at the image now it will be too big and will overflow your containter.
- The size of a picture is often much bigger than the browser or device screen. We use CSS to control the picture.
- This tutorial comes with four different image options:
- Each image is set to fit within the site
- .imgLeft-This will put the image on the left and wrap the text around the picture. It is set to a width of 50%, this means it will take up half of the container. If you chane the image link to <img class="imgLeft" src="" alt=""> you will see.
- .imgRight-This will put the image on the right and wrap the text around the picture. It is set to a width of 50%, this means it will take up half of the container. If you chane the image link to <img class="imgRight" src="" alt=""> you will see.
- .imgFull-This image is set to 100% width. It will take up the entire container. It is also set to be centered


How Does the CSS Work?
- This is optional information if you wat to know how the images are styled.
- First we set the height of the body to 100%. That means it will always take up the full display
- We then have a wrapper with a width of 90%. It is nested inside of the body. That means the wrapper will take up 90% of the body
- We then set the wrapper to display:inline-block. This makes all of our stuff display next to each other
- We then made a rule for right, left, and center images
- The float, either right or left, is what puts the image on the right or left of the text. The margins (they go clockwise...top, right, bottom, left) add some space around our images
- The width sets the size of the image relative to the container. You can change the size of the image by switching the percent. We use a percentage size rather than pixels to make it display well on mobile devices.
            .imgLeft {
            float:left;
            max-width:50%;
            height: auto;
            margin: 10px 30px 10px 0px;
            }
            .imgRight {
            float:right;
            max-width:50%;
            height: auto;
            margin: 10px 0px 10px 30px;
            }
            .imgCenter {
            display: block;
            margin: 0 auto;
            max-width:50%;
            }
            .imgFull {
            width:100%;
            }
Add a Link to Full Image Resolution
- Some of your audience may want the full resolution image. We do this by linking our styled image to the full length image.
- We will wrap the entire img with the <a>anchor elementand point to the url of the full image

Reflection and Sharing
Share a link to your page with your community. Have someone provide you feedback on the copy you wrote.